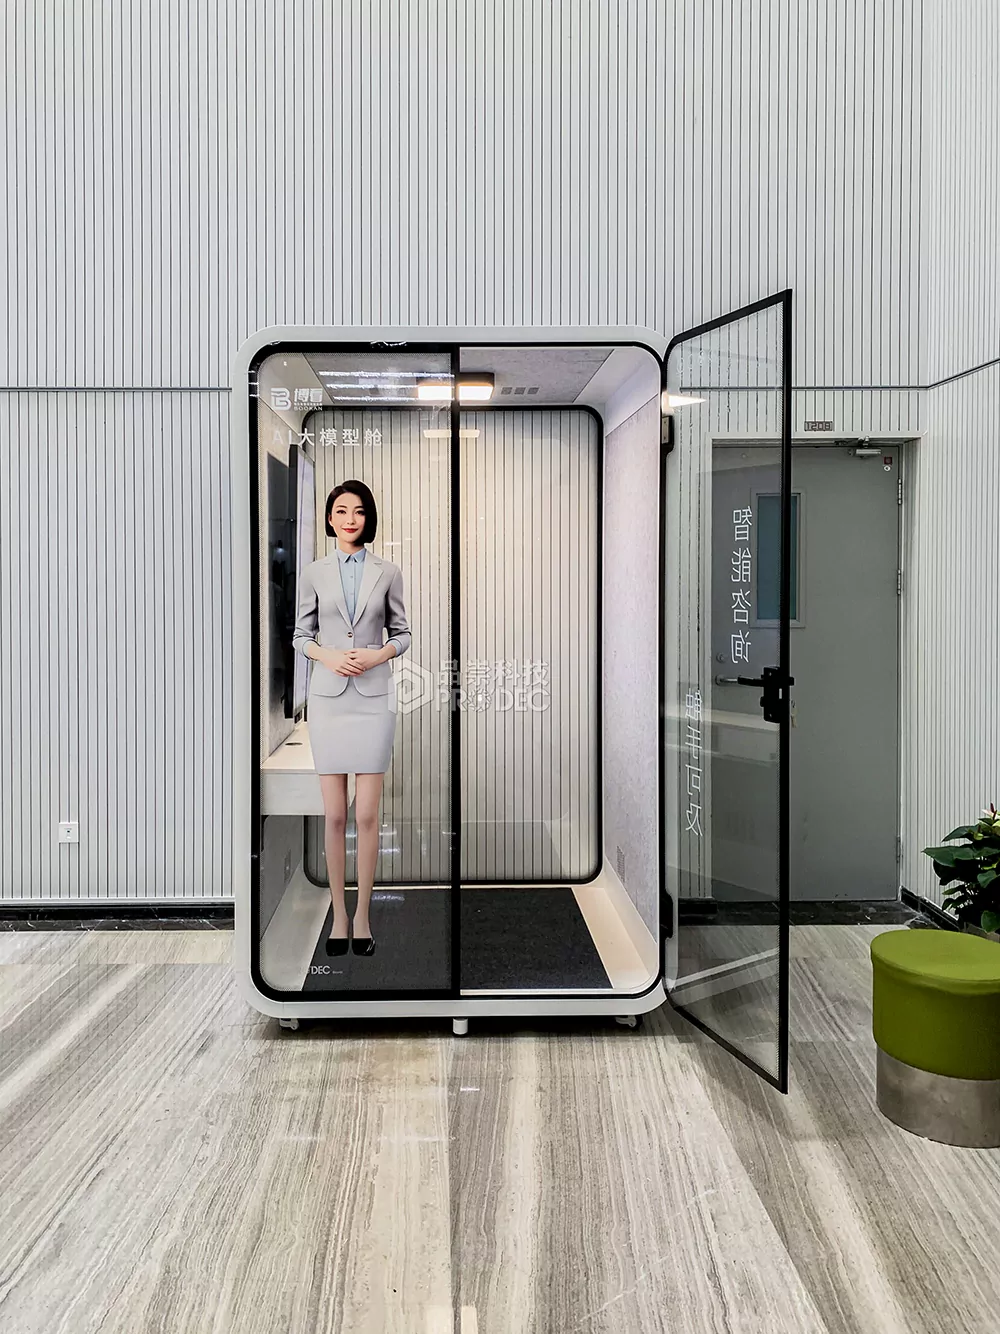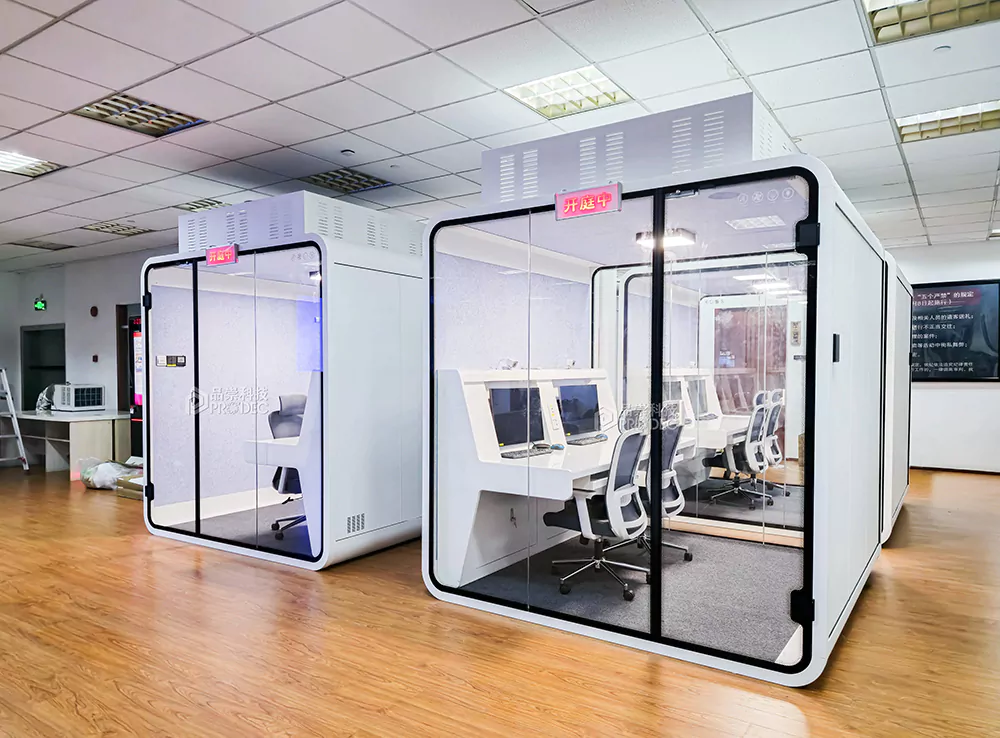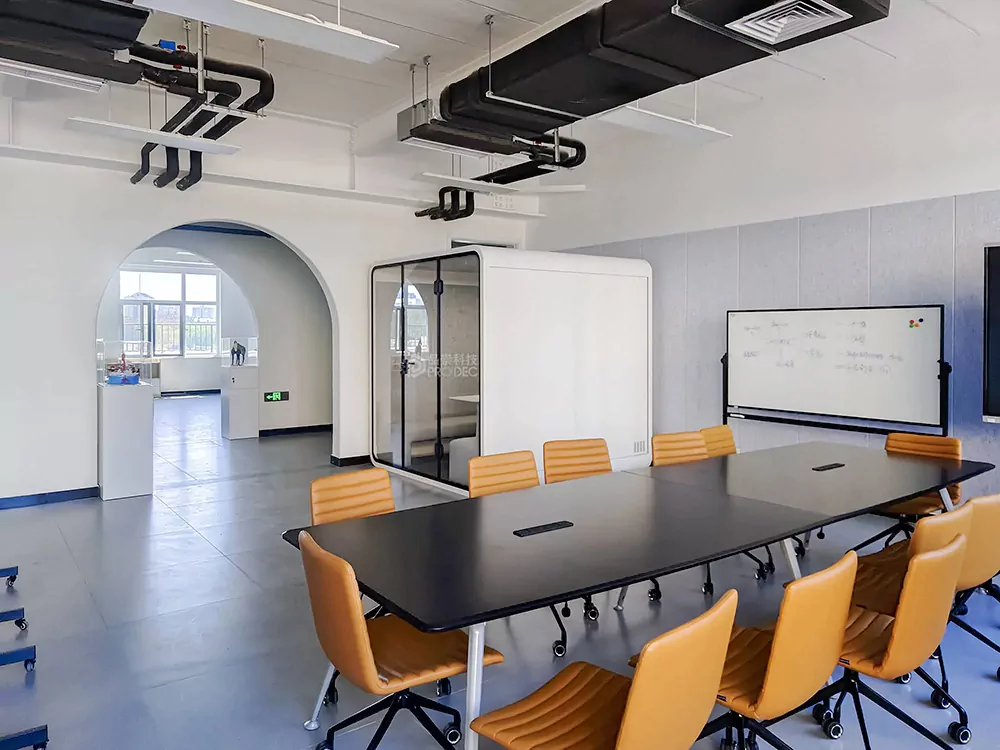
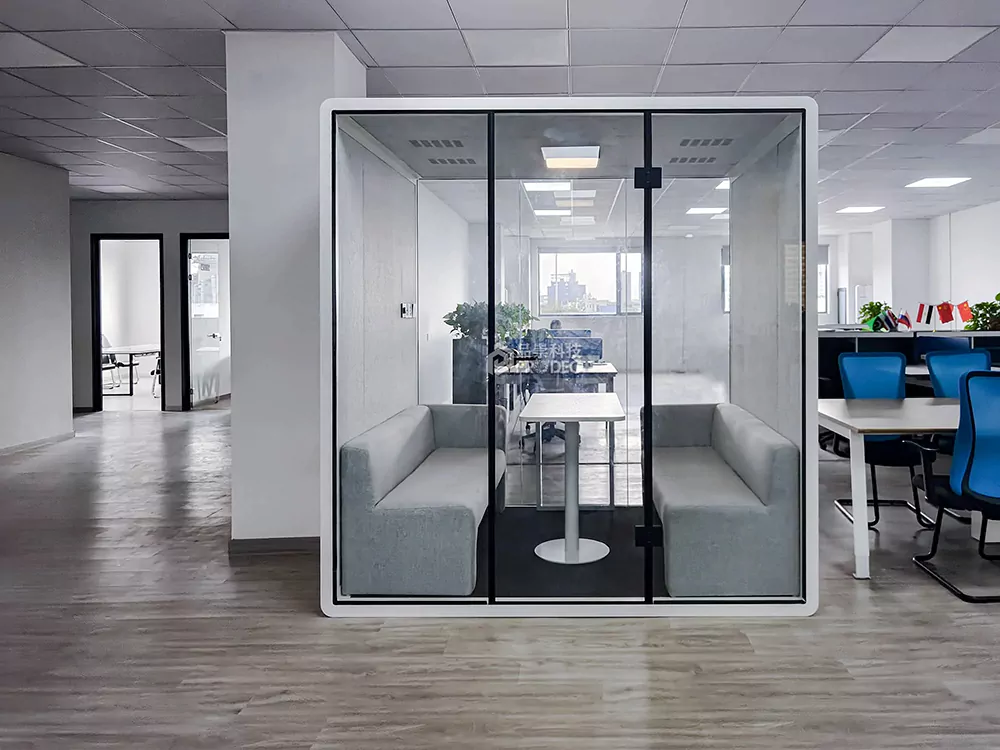
Soundproof Booth: Steps to Create Your Personal Quiet Space
In today’s busy world, finding a quiet space to work, study, or relax can be challenging. Whether you need a soundproof booth for recording, working from home, or just to escape the noise, building a DIY soundproof booth is an achievable project. Here’s a step-by-step guide to help you create your personal quiet space.
Step 1: Plan and Design Your Booth
Before you start building, it’s crucial to plan and design your soundproof booth. Consider the following:
- Purpose: Determine why you need the booth. Is it for recording music, working from home, or meditation?
- Size: Measure the available space and decide the dimensions of your booth.
- Location: Choose a suitable location in your home or office where the booth will be placed.
- Materials: List all the materials you’ll need, including soundproofing materials, construction materials, and tools.
Step 2: Gather Materials and Tools
For a basic DIY soundproof booth, you will need:
- Wooden studs and plywood
- Soundproof insulation (e.g., Rockwool or fiberglass)
- Mass Loaded Vinyl (MLV)
- Acoustic foam panels
- Door seal kit
- Caulk and weatherstripping
- Carpeting or rubber flooring
- Basic construction tools (hammer, nails, screws, saw, drill)
Step 3: Build the Frame
- Construct the Frame: Use wooden studs to build the frame of your booth. Ensure the frame is sturdy and matches your planned dimensions.
- Add the Floor: Attach a plywood base to the frame to create the floor of the booth. You can add rubber flooring or carpet to further dampen sound.
Step 4: Install Soundproof Insulation
- Insulate the Walls: Fill the walls with soundproof insulation like Rockwool or fiberglass. These materials are excellent for absorbing sound.
- Seal the Frame: Cover the insulated walls with plywood or drywall. Use screws to secure them tightly.
Step 5: Apply Mass Loaded Vinyl (MLV)
- Cut and Attach MLV: Cut Mass Loaded Vinyl sheets to fit the walls and ceiling of the booth. MLV is a dense material that blocks sound transmission.
- Secure with Screws: Attach the MLV sheets to the walls and ceiling using screws. Overlap the seams to ensure there are no gaps.
Step 6: Install Acoustic Foam Panels
- Place the Panels: Attach acoustic foam panels to the interior walls and ceiling of the booth. These panels will help absorb sound and reduce echo.
- Cover All Surfaces: Ensure all interior surfaces are covered with acoustic foam for maximum soundproofing.
Step 7: Install the Door and Seal
- Install the Door: Attach a solid core door to the frame. Solid core doors are more effective at blocking sound than hollow ones.
- Seal the Door: Use a door seal kit to seal the edges of the door. Apply weatherstripping to ensure there are no gaps where sound can escape.
Step 8: Add Finishing Touches
- Caulk All Seams: Use acoustic caulk to seal any remaining seams or gaps in the booth.
- Ventilation: If ventilation is necessary, install a soundproof ventilation system to allow airflow without compromising soundproofing.
Step 9: Test Your Booth
- Check for Leaks: Once your booth is complete, check for any sound leaks. Stand inside the booth and have someone make noise outside to test the soundproofing.
- Make Adjustments: If you find any weak spots, add additional insulation or sealant as needed.
Conclusion
Building a DIY soundproof booth requires careful planning and execution, but the result is a personal quiet space tailored to your needs. Whether you use it for recording, working, or simply escaping the noise, a well-built soundproof booth can significantly improve your quality of life. Happy building!